Recent industry trends
A No & Low tasting menu inspired by BCB’s concept bar
Turn a trade-show idea into three distinct tasting serves, with clear portions, preparation cards and an easy reset between rounds.
Manchen editorial team · Updated
The short answer
Design the tasting around three different experiences, then assign each a measured portion, preparation method and reset step. BCB supplies the recent inspiration; the example below is our own workshop format. It is intended to help a host compare drinks and explain their differences without turning the tasting into three full-size rounds.
Borrow the format, then set your own purpose
BCB’s report, published on 21 October after its 12–14 October event, describes FOCO’s No & Low serves at the Embassy concept bar. That is a specific example of drinks supporting an educational setting, rather than evidence that every venue needs a new menu.
For a small tasting, write one question before selecting ingredients: can guests recognize how brightness, bitterness and texture change the experience? Use three contrasting directions and a short description for each. Label which drinks contain alcohol and describe ingredients accurately. Keep a separate record of the actual products used; a low-alcohol label does not automatically mean alcohol-free.
Make the comparison easy to follow
Give the first sample a bright, refreshing character, the second a bitter or aromatic emphasis, and the third a different texture. These are creative directions, not recipes from FOCO. Decide the order through a rehearsal with the actual ingredients; a powerful final sample may obscure a delicate opening if they are reversed.
Choose one small planned serving volume for the comparison where practical. NIST identifies mL as the symbol for milliliters; use a single written unit throughout the preparation sheet. Record any necessary difference in portion size beside the drink name, so guests do not mistake a larger sample for a recommendation to drink more.
Write a preparation card for each sample
Each card should name ingredients, measures, assembly vessel, serving vessel, ice, garnish and the person responsible. Add the final action, such as topping with a sparkling ingredient or adding an aromatic garnish, instead of hiding it in a general instruction to finish the drink.
Separate work that can be prepared in advance from work that happens during the demonstration. A strained fruit component might be prepared beforehand, while a sparkling addition is reserved for the final build. Confirm the appropriate storage and handling for the ingredients you choose. The useful outcome is a card another host can follow without guessing at the missing steps.
Let the tool sequence support the explanation
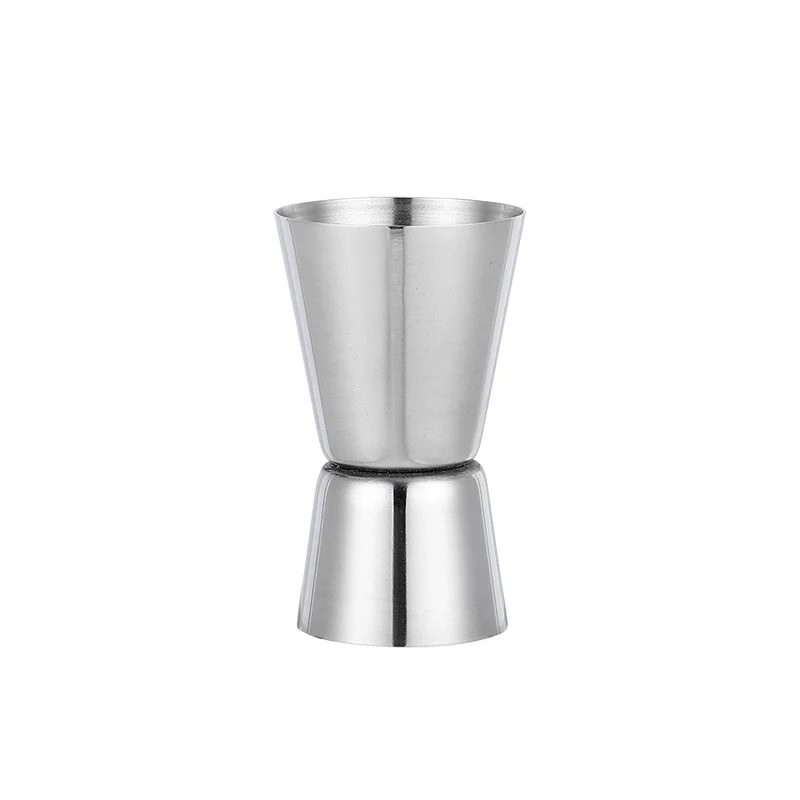
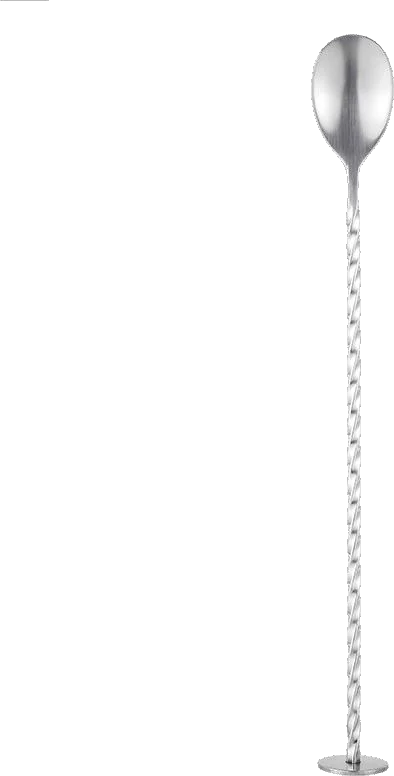
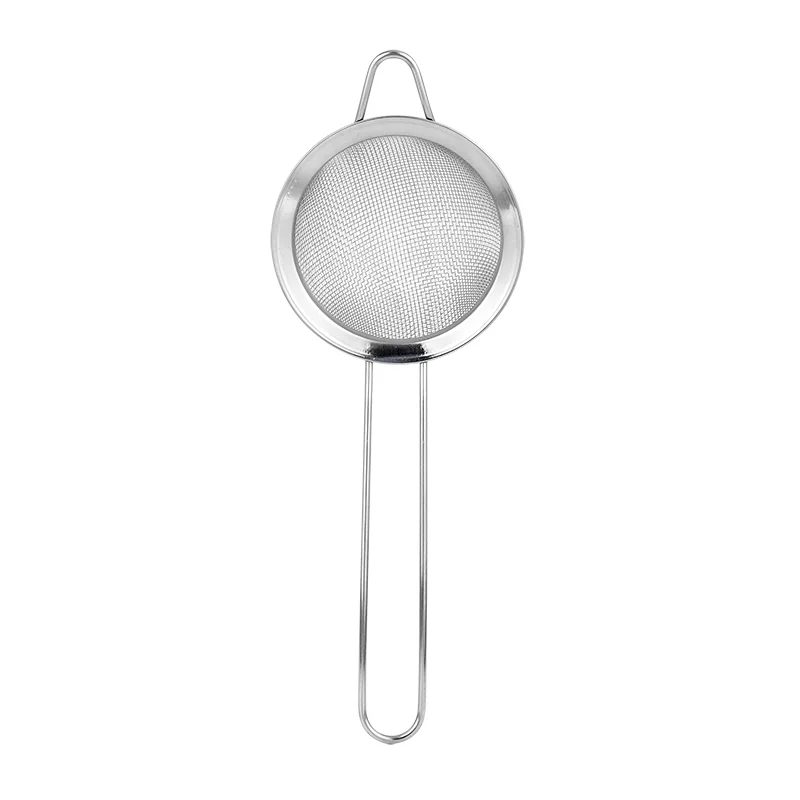
Lay out the first drink’s tools in the order they will be used, then identify which can serve the next sample after proper cleaning. A jigger supports the written measures, a spoon supports a stirred build, and a fine sieve has a purpose only when the chosen component needs it. Avoid adding tools simply because they make the station look more elaborate.
Provide a clear place for used tools and separate ready-to-use items. After each sample, reset the visible station before beginning the next explanation. That pause gives guests time to compare their notes and makes the next technique easier to see.
Rehearse the tasting as a complete session
Ask a colleague to act as a guest while you run all three serves. Note when ingredients leave storage, when the explanation begins, and whether the last guest receives the same presentation as the first. Change the plan if the host spends more time finding tools than discussing the drinks.
Finish with three questions: which difference was easiest to recognize, which instruction was unclear, and which preparation step should move out of the live demonstration? Keep the revised cards with the tool list. A successful rehearsal produces a repeatable tasting session, not an unsupported claim that one tool or ingredient improves every drink.
Put it into practice
- Define three contrasting flavor or texture directions.
- Write serving volumes and alcohol information on each card.
- Assign tools, cleaning and reset steps between samples.
- Rehearse the entire sequence with a colleague.
Questions worth asking
Should every sample use the same glass?
A matching vessel can make a controlled comparison easier, but presentation may require different shapes. State the reason for any change and keep the planned portion clear. The glass should support the comparison rather than quietly changing several variables at once.
Do I need a separate tool kit for every drink?
Not automatically. Map the sequence first. Share suitable tools when they can be cleaned and returned in time; provide separate items where ingredients, handling requirements or the demonstration timing make sharing impractical.
Examples from the Manchen catalog
For a Manchen tasting-workshop inquiry, compare the straight-rim jigger, twisted bar spoon and fine-mesh sieve as three distinct tasks. Send your sample portions and preparation cards so the required measuring increments and sieve size can be confirmed; the catalog photographs do not establish those specifications.
Explore the relevant collections
Discuss your product brief ↗References & further reading
References for the reported developments and supporting techniques. Trial plans and buying worksheets are original editorial suggestions.
